Python Scripting in Tas
In previous blog posts, we’ve looked at how you can get started with the Tas API. We mentioned that you can use almost any programing language to automate Tas, and I personally recommended getting started with Visual Basic for Applications (VBA) with Microsoft Excel. This is for two reasons; the first, is that an Excel worksheet is a convenient way to store data you might want to put into Tas and get out of Tas. The second, is that using Excel to write Macros requires very little to get started and, most importantly of all, comes with ‘Intellisense’

This Intellisense, sometimes known as code completion or auto-complete, is pretty handy as it saves you the trouble of having to refer to online documention and type library information viewers as frequently when you are programming using our API.
With most Python setups, this Intellisense for Tas is not available, so in this blog post, we’ll walk through how to set it up.
Which tools should I use?
For this example, we will be using Python 3 in conjunction with Visual Studio Code as our IDE. You can also use Pycharm or Visual Studio, but I have chosen Visual Studio Code as it’s free and is relatively lightweight and requires minimal setup.
Step 1: Install Python
If you haven’t already installed Python, you can do so from python.org. I have installed Python version 3.13.1, but any version of Python 3 should work.
Step 2: Install Visual Studio Code
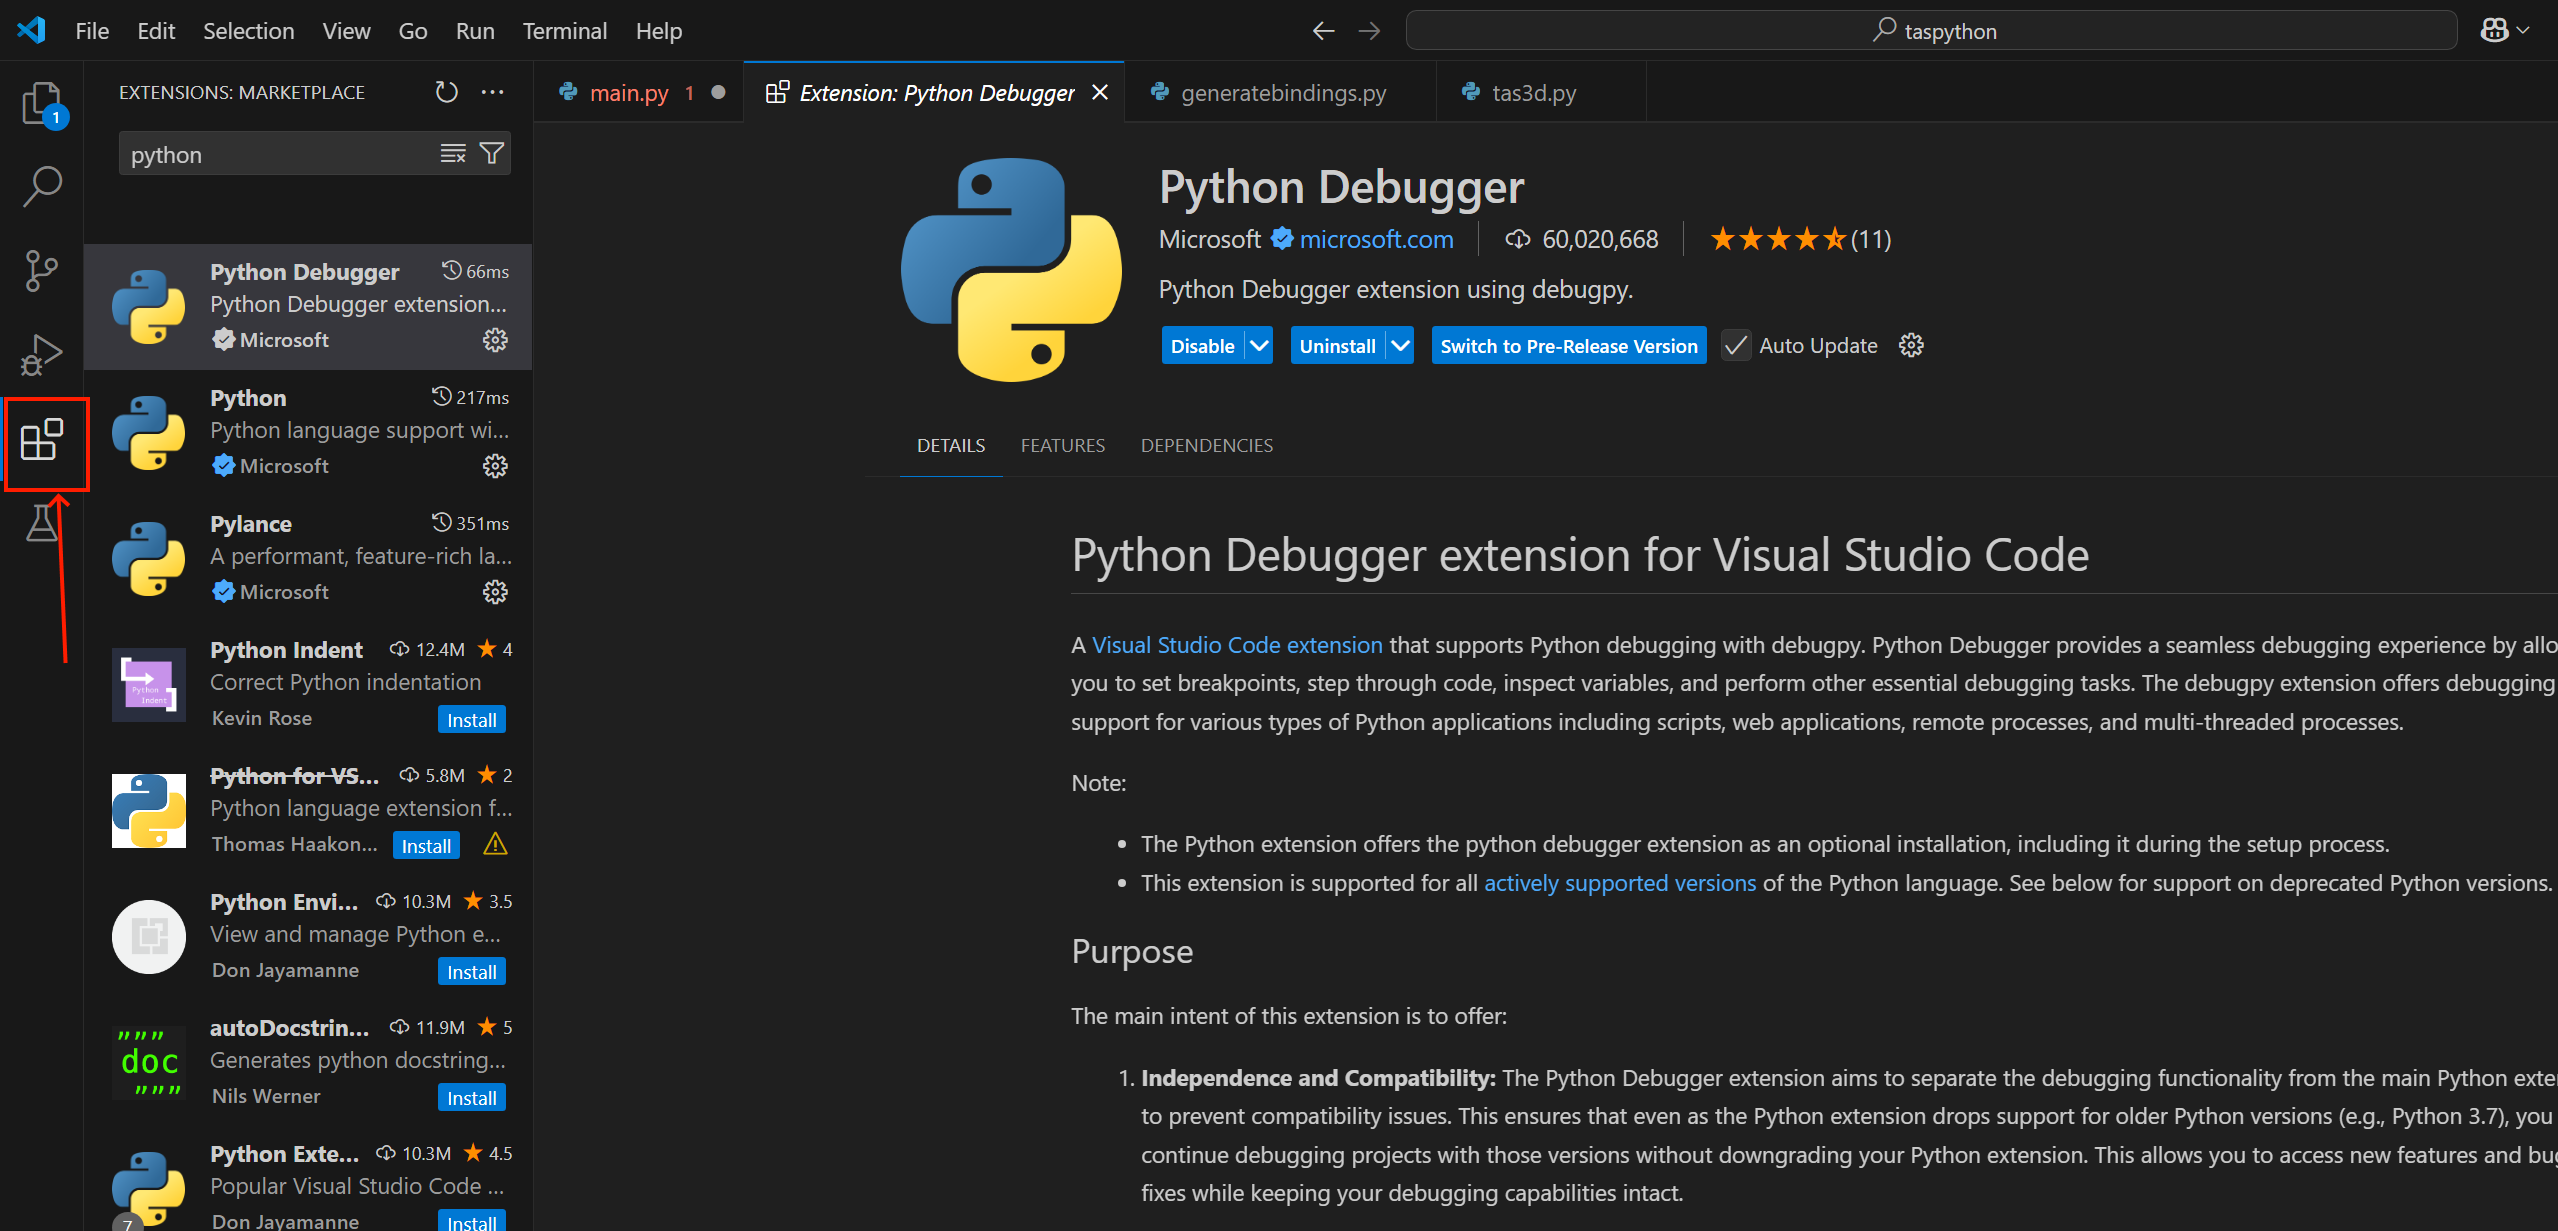
You can install Visual Studio Code from here. Once you have installed it, you’ll want to install the Python plugin. The first time you open a .py file in visual studio code, it will ask you if you want to install the Python plugin. Alternatively, you can just search from it in the online Extensions library/
Step 3: Install comtypes using pip
After you have installed Python, you’ll need to install the comtypes Python library. This library can be used to automatically create Python bindings for the Tas type libraries, which is how the Visual Studio Python interpreter learns about the Tas API.
Open a python terminal by pressing the Start button and searching for Python:
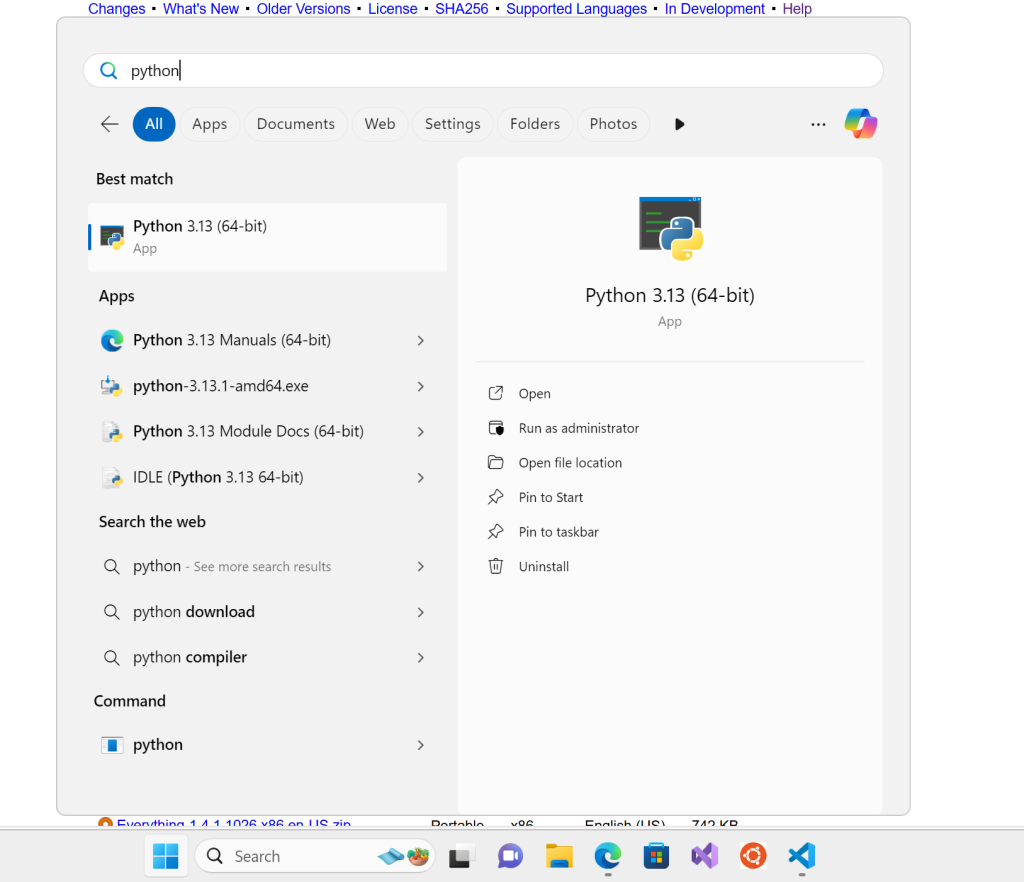
With the Python shell open, enter the following code, pressing return after each statement, in order to determine where the Python executable is installed on your machine:
					import os, sys
os.path.dirname(sys.executable)
You should end up with something like the following:
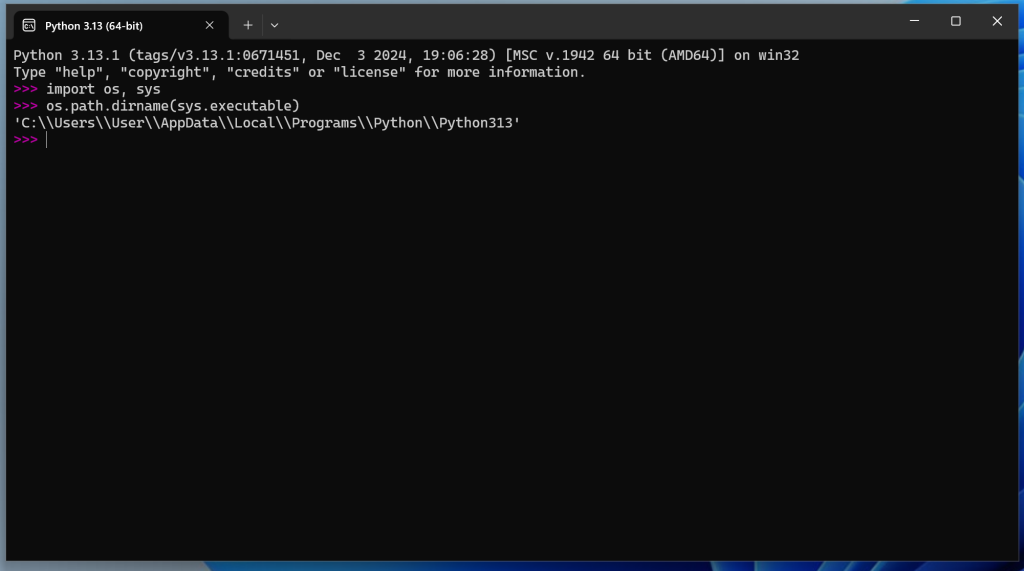
We can see from the above that on my computer, Python is installed to C:\users\User\AppData\Local\Programs\Python\Python313. We will need to use this directory in order to install comtypes using pip.
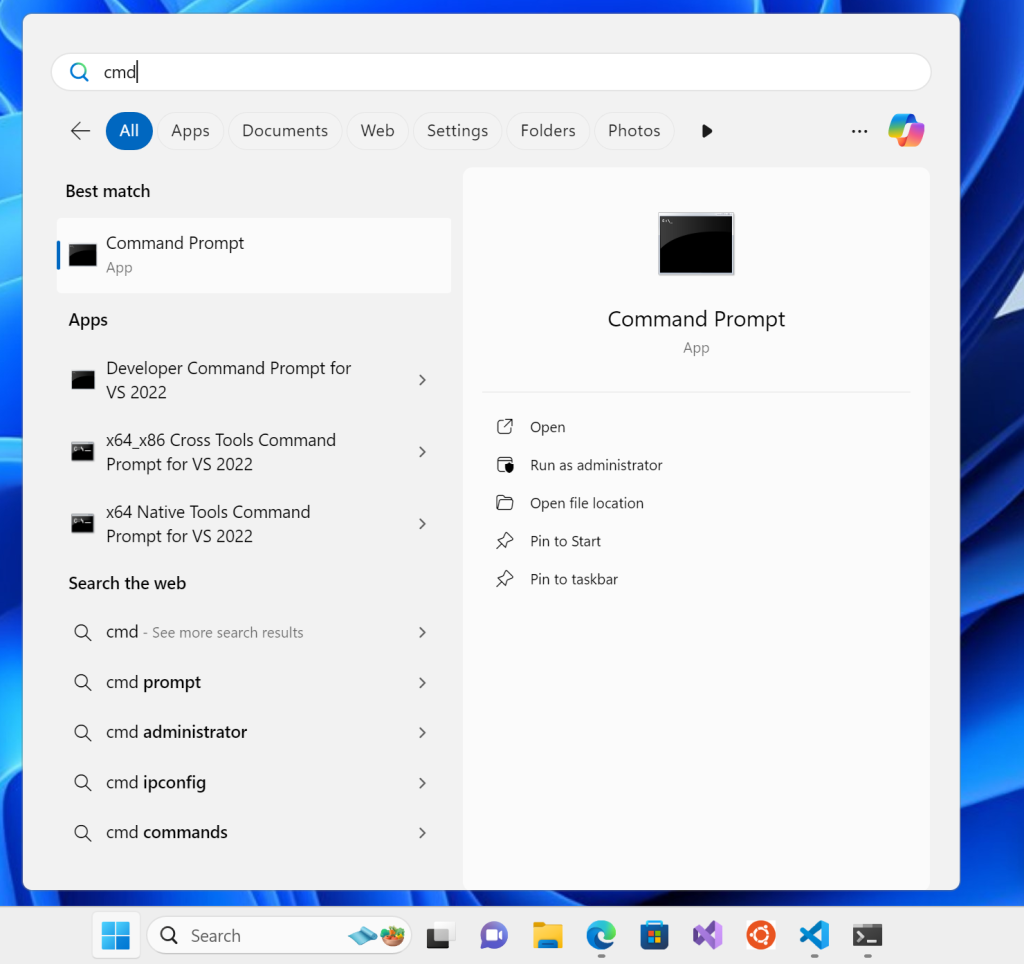
Open a command prompt and ‘change directory’ to the directory identified in the previous step:
Change directory using the cd command:
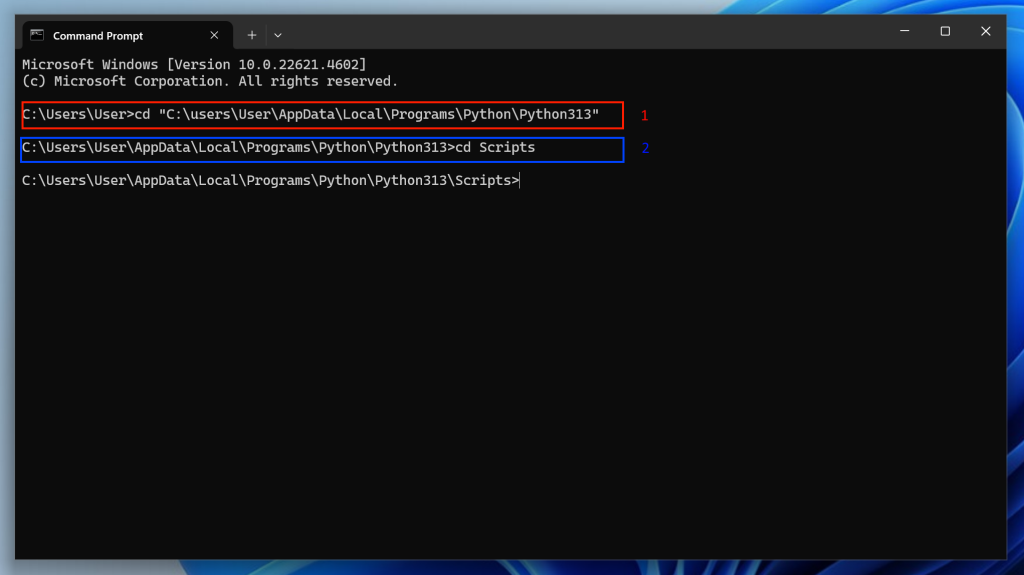
Change into the Scripts directory as per the above, and then you can run the pip install command in order to install comtypes:
pip install comtypes
Step 4. Generate Bindings
Now we can use comtypes to generate bindings for the Tas type libraries. We will do this using a Python script which we should only have to run once, though it may need re-running from time to time if the bindings are stored in a temporary directory on your computer. Create a new file called GenerateBindings.py in visual studio code, and enter the following script:
					import os
import comtypes.client

# Define the directory containing the type libraries
type_lib_dir = r'C:\Program Files\Environmental Design Solutions Ltd\Tas'

# List of type library filenames
type_lib_files = ['TAS3D.tlb', 'tbd.tlb', 'tpd.tlb', 'twd.tlb', 'tai.tlb', 'tcr.tlb', 'tcd.tlb', 'tsd.tlb']

# Generate COM bindings for each type library
for tlb_file in type_lib_files:
    tlb_path = os.path.join(type_lib_dir, tlb_file)
    comtypes.client.GetModule(tlb_path)

print("COM bindings generated successfully for all type libraries.")
When you run this script, the bindings will be created immediately.
Step 5: Write a script to check it worked
Now we can write a script to check it worked. As a simple example, create a new file in visual studio code called HelloTas.py and enter the following:
					import comtypes.client
from typing import cast

# Initialise COM (optional but recommended)
comtypes.CoInitialize()

# Import the generated TAS3D library
from comtypes.gen import TAS3D

# Create the COM object with the specific interface
tas3d_dynamic = comtypes.client.CreateObject("TAS3D.T3DDocument", interface=TAS3D.ITAS3D)

# Cast to the correct interface for IntelliSense
tas3d: TAS3D.ITAS3D = cast(TAS3D.ITAS3D, tas3d_dynamic)

# Now, IntelliSense should recognise properties and methods
buildingName = tas3d.Building.buildingName

#Print the building name to the console
print(buildingName)
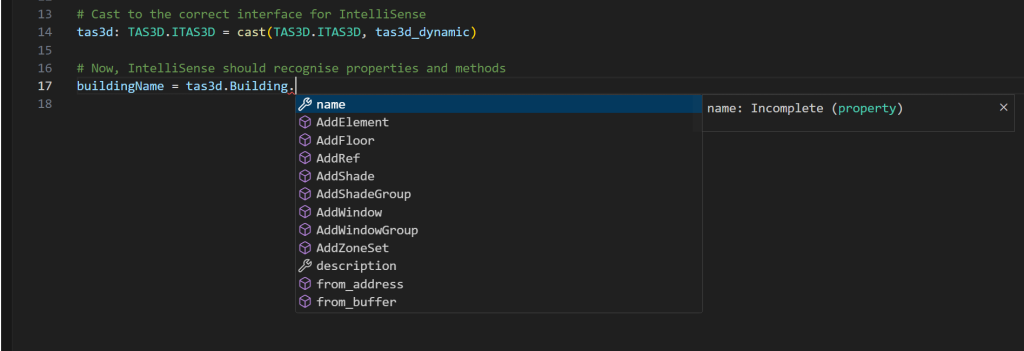
You should notice that when you start entering the above, the Intellisense menu appears and gives you code suggestions:

Congratulations! You’re ready to write some Tas Python scripts. All of the scripts mentioned in the coding lesson blog posts so far can be converted to Python, so it might be a good idea to use these for inspiration when it comes to getting started!
